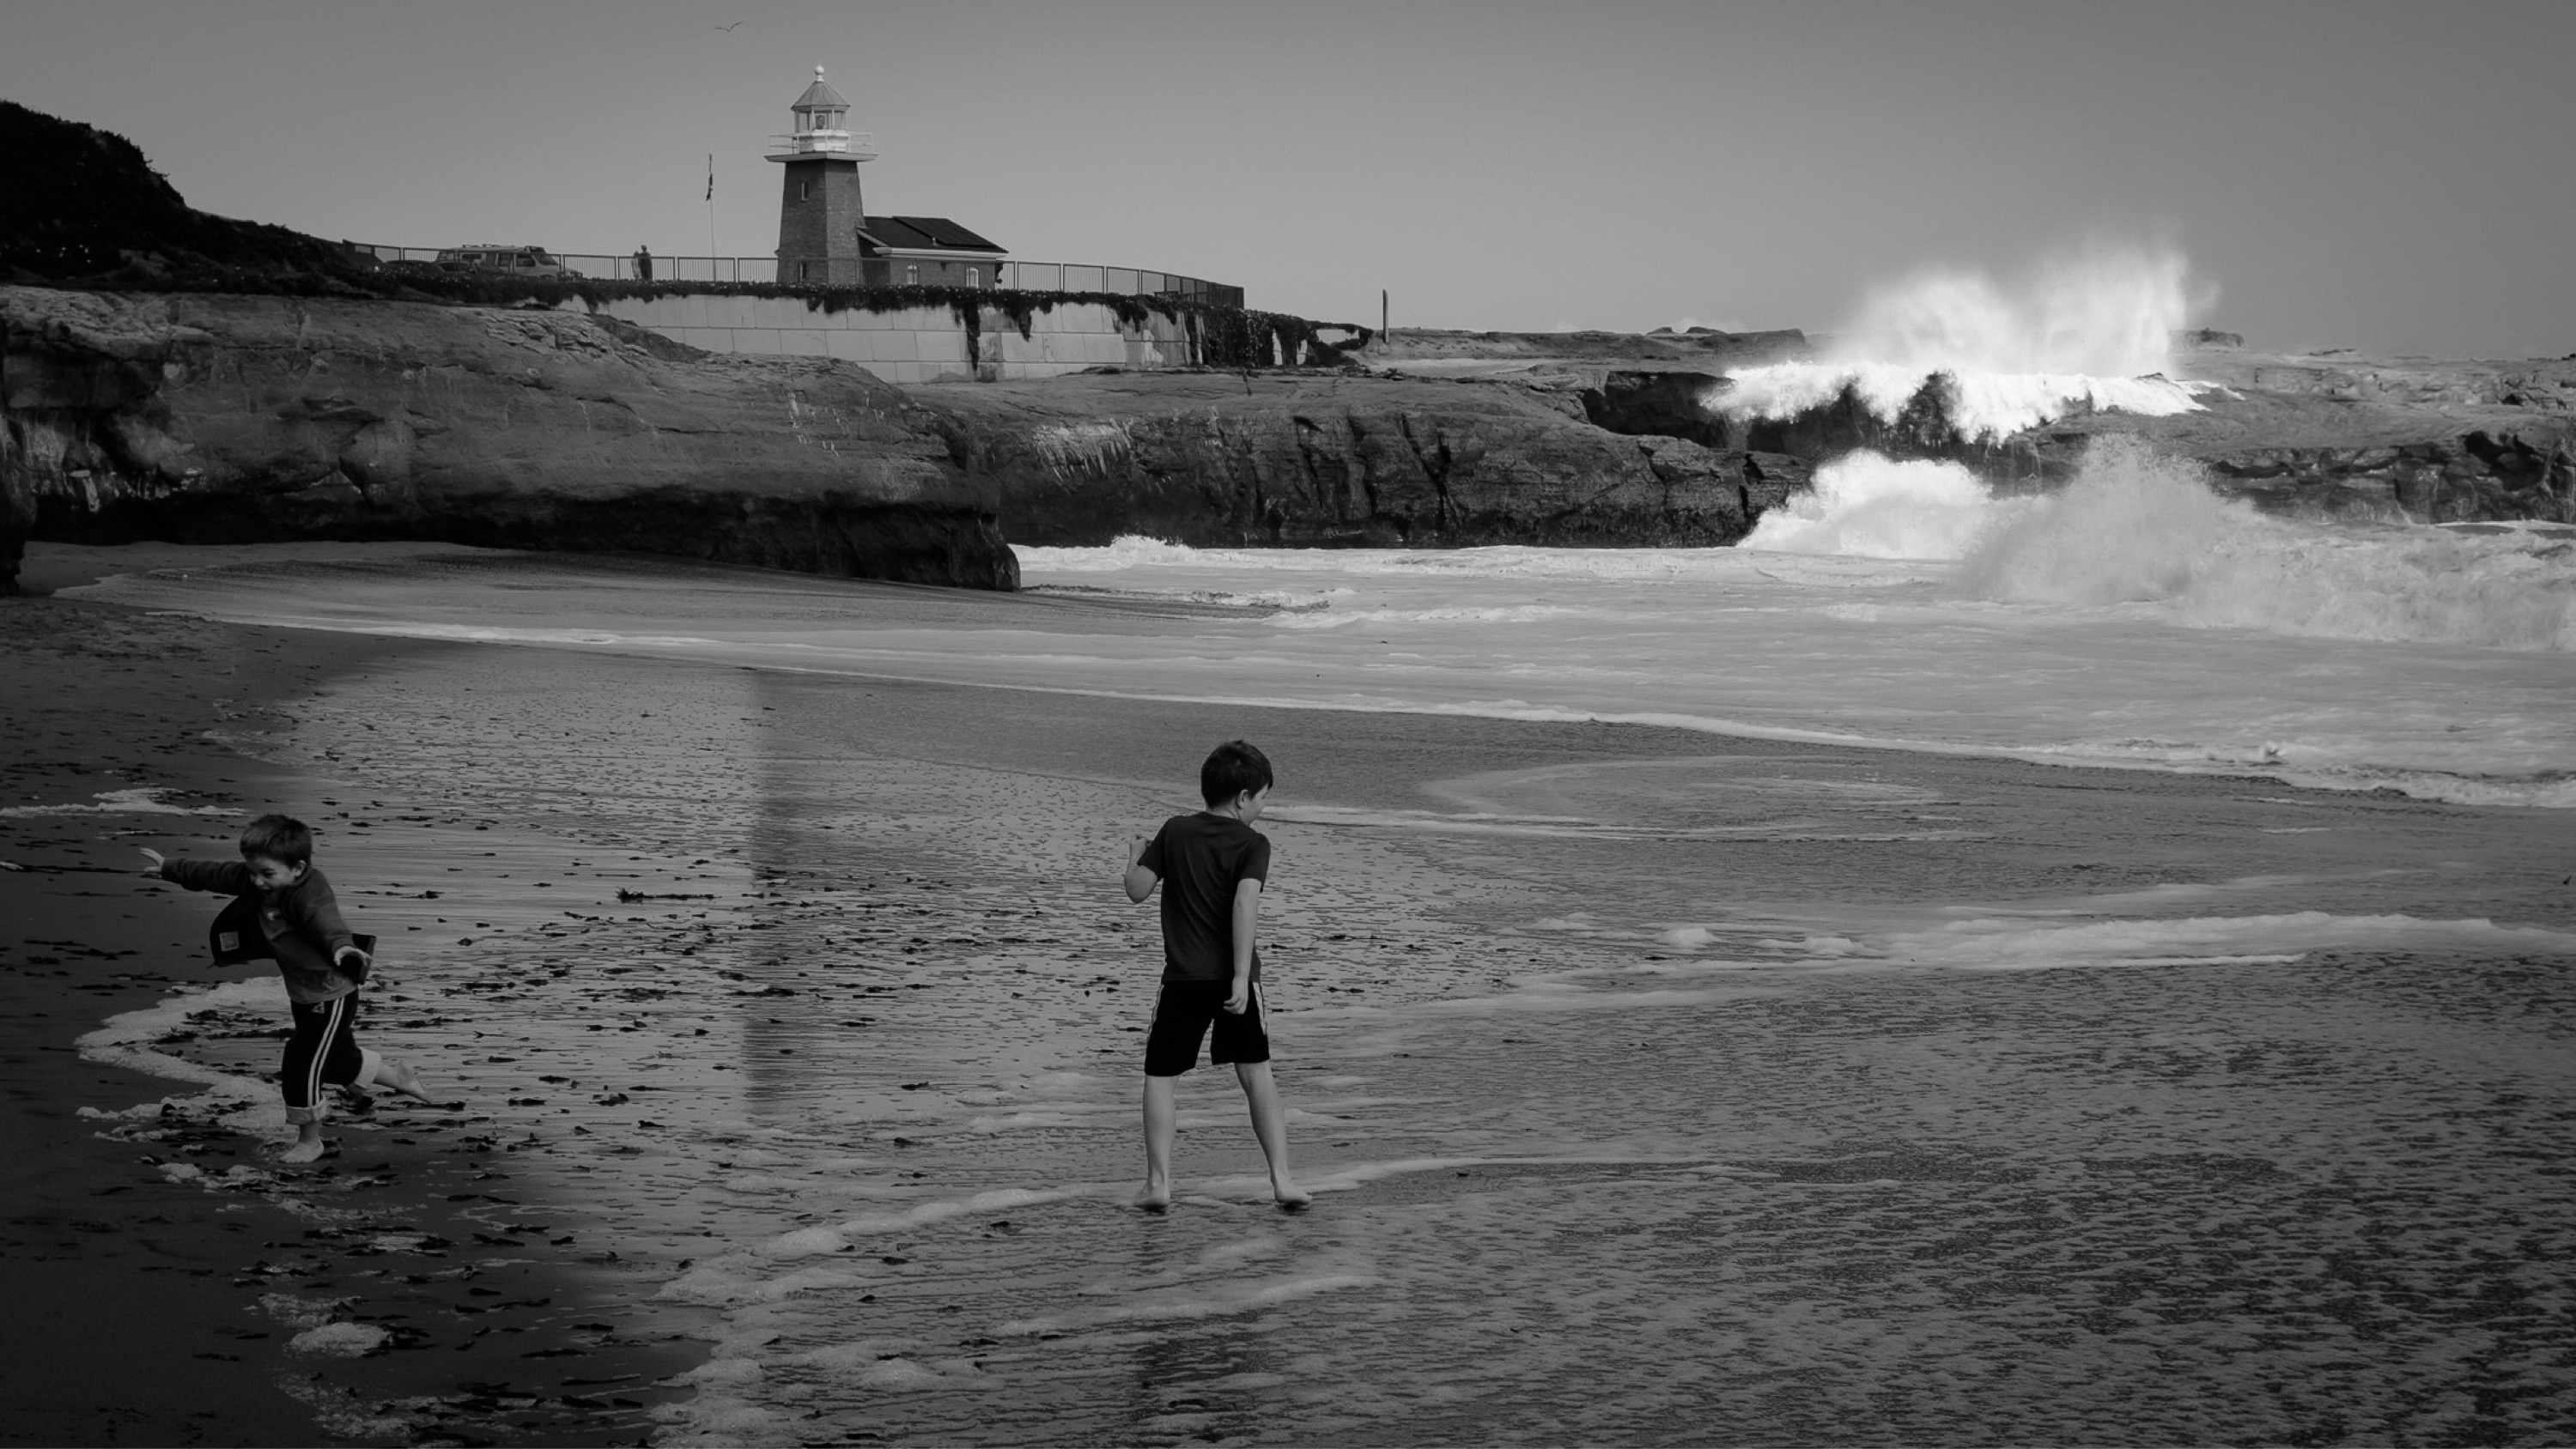
Panic at the Lighthouse! Santa Cruz, CA 1/500s at f/8.0, ISO 200
I wish I knew more about exposure. Sure, I can trick the AE program in my camera to create interesting results. I have a passable understanding for when to expose for shadow details and when to push highlights. But I don’t have the slightest idea how to calculate optimal exposure without help.
Not yet, at least. I’m starting to learn.
Exposure is the amount of light collected by the camera. You control exposure with three settings: (1) aperture, (2) shutter speed, and (3) film speed or ISO. Each camera has a minimum and maximum value for each setting. When you adjust one of these settings, it changes the amount of light collected, according to a logarithmic scale called exposure value (EV).
A difference of 1 EV is often referred to as a stop. Adding a stop (+1 EV) doubles the amount of light collected, while reducing a stop (–1 EV) cuts it in half.
A good camera, like the Fuji X100T, provides dials for controlling aperture, and shutter speed. Each marked division on these dials denotes a single stop.
So ends theory.
What I’ve always wanted to know is how to properly expose a given scene. With a light meter, I’ve had a starting point that could be adjusted to acheive a particular image. Where do I start without a meter?
Enter the Sunny 16 rule:
On a sunny day, set aperture to f/16 and shutter speed to the reciprocal of the ISO setting for a subject in direct sunlight.
Excerpt from Mastering Black-and-White Photography
It sounds too simple, but this is all the information I need to properly expose a scene. No light meter required. In fact, the photo at the start of this post uses the very EV defined by Sunny 16.
The ISO in this photo, 200, is the slowest1 I can select. According to Sunny 16, the recommended shutter speed is 1/200th a second, or the next closest (which is 1/250th a second on my Fuji), with the aperture set to f/16.
As I described at the beginning of the week, I prefer to shoot moving children at f/8. Since I increased the aperture two stops, I had to reduce the shutter by two stops (1/500th second) to compensate.
The drama of the above photo comes from the surf crashing against the cliff in the upper right of the frame. Since the surf is the only part of the image in direct sunlight, the exposure draws emphasis to it. By under-exposing the rest of the image, the crashing water seems to leap from the page.
Clouds, shooting indoors, and large buildings casting shadows are just a few things that will reduce the amount of incident light in your frame. You’ll need to compensate accordingly: larger apertures, longer shutters, and larger ISO values. Kodak includes handy charts, similar to this one2, on their film packaging. I was surprised to find only a few scenarios to remember.
That said, these are more like guidelines really. Exposure, while mathematically described, is an important part of a creative process for photography.
As shown in the above photo, not every subject in your frame will share the same exposure value. You can exploit this fact to draw attention towards certain parts of your shot, just as you can with focus or depth-of-field.
Sunny 16 is a starting point. Nothing can replace the knowledge and intuition gained from actually going out and trying. Unless you’re fortunate enough to live in a place where every day is a bright sunny day, it will be a challenge to experiment.
Lucky for me, I live in California—where every day is happy.
ISO 200 is the lowest setting the Fuji includes by default. You can select a lower ISO value in the menu, but it may produce a compromised image. ↩
Chart originally created by Dirk Fletcher ↩
About the Author
Rob Rhyne is an American designer, developer and writer. He founded MartianCraft, where his teams developed hundreds of applications for clients. He is a published author, and acclaimed public speaker. On occasion, he writes music and takes photographs.
© 2017 Rob Rhyne. All Rights Reserved. Made in California.